
How to Make an Audio Visualizer Video in Your Browser
Turn a song or podcast clip into a shareable audio visualizer video in six steps. No upload, no account.
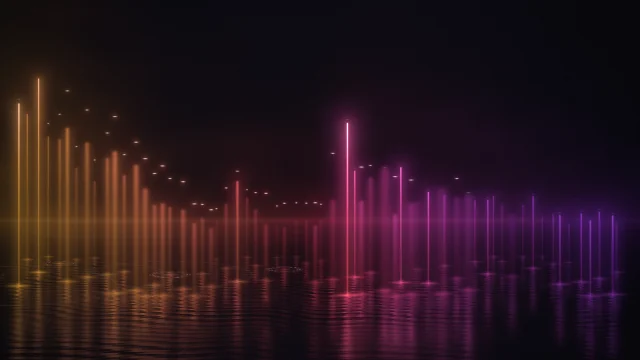
A good audio visualizer video takes about five minutes: load a track, pick a look, choose the right size and press record. Everything below happens in your browser tab with AudioVisualize, so your audio stays on your device. (The one step that sends a copy is the optional Analyze song, for timing lyrics. Nothing below uses it.)
1. Load your audio
Press Upload audio (or drop a file anywhere on the page). MP3, WAV, M4A, OGG and FLAC all work. No file handy? The demo presets (EDM Drop, Lo-Fi Beat, Podcast Intro and more) are generated in the browser, so you can try every style straight away.
You can also visualize live sound. Microphone reacts to your voice or an instrument, and System audio captures the sound of another browser tab.
2. Pick a style
The 9 core styles + 23 premium styles are built for different material. A few of the core ones:
- Bars for the classic spectrum look, good for EDM and hip-hop.
- Waveform for voices and acoustic instruments, because it traces the raw shape of the sound.
- Particles and Radial for ambient tracks, album-art loops and logo reveals.
- Music Spaces for coding mixes, listening rooms and ambient sessions.
Switching styles mid-song is fine, so audition them while the track plays. Our guide to every visualizer style shows what each one is best at.
3. Choose colors and a background
26 palettes (plus a custom one) map low energy to calm colors and loud passages to bright ones. For the background you can use Dark, Gradient, your own Image, Transparent (for editors and OBS) or Green screen.
4. Set the resolution before you record
The stage renders at exactly the size you export, so choose the Resolution first: 720p or 1080p for landscape, 9:16 for Shorts, TikTok and Reels, and 1:1 for feed posts. If you are unsure, the export settings cheat sheet lists a size for each platform.
5. Tune the sensitivity
If the peaks hit the top of the frame constantly, lower Sensitivity. If quiet passages barely move, raise it until the loudest moments fill about three quarters of the frame. A well-tuned visualizer leaves headroom for the drops.
6. Export
Choose WebM or MP4 and press Export video. Recording runs in real time with sound, so a three-minute track takes three minutes. Stay on the tab until it finishes. Prefer a still? The camera button saves the current frame as a PNG.
Quick fixes
- The video has no sound. Press play once before exporting so the browser unlocks audio.
- MP4 isn't available. Your browser can't record it, so AudioVisualize switches to WebM. Convert it afterwards if a platform insists on MP4.
- It's stuttering. Close heavy tabs, or drop to 720p.
That is the whole workflow. Open the tool, drop in a track, and you will have your first export before the kettle boils.